Griffin Before and After: All the Rest

Besides the bathrooms and kitchen, most of the rooms in the Griffin house were in solid shape and didn’t require more than cosmetic work. This involved removing the carpet (oh, the carpet!), refinishing the wood floors, removing the radiators, repairing the trim in some areas, painting, and upgrading light fixtures. Take a look:

DSC_0917_thumbLivingDSC_0919_thumb.jpgFoyer

DSC_0922-2_thumb

DSC_1179_thumb.jpgDining

DSC_0962_thumb

Master

DSC_1187_thumb.jpg

Stairs.jpeg


Griffin Before & After: The Bathrooms

The bathrooms were a huge part of the 3022 Griffin renovation.

Let’s jump right in and start with the powder room, shall we? It was carpeted, for one thing, and the sink and toilet were way too bulky for the space. We gutted the room, refinished the hardwoods, and found a smaller toilet and sink that fit much better.

DSC_0930_thumb

DSC_1178_thumb

Powder

Upstairs in the hall bath, we ignored the advice of everyone who told us to get rid of the clawfoot tub and instead had it refinished. We ripped out the tile and installed fresh new white hexagons, installed wainscoting, repositioned the toilet to improve the flow of the space, and found an adorable little pedestal sink that doesn’t interfere with entry into the room. We splurged on a beautiful chrome antique-inspired faucet for the tub. This is Erica’s favorite room in the house.

DSC_0948-2_thumbDSC_1183_thumbDSC_1300_thumbHall Bath

That room was a big project, but nothing compared to the master bath—which didn’t exist when we bought the house. We took a dark, awkward room on the back of the house and converted it into an ensuite bath and laundry closet. This involved tearing up the tiles, refinishing the floors, and installing a new tile shower and large vanity. The room is truly unrecognizable from its original state.

DSC_1018_thumb

DSC_1083_thumb.jpgDSC_1184_thumbDSC_1304_thumbMaster Bath

Griffin Before & After: The Kitchen

Kitchen

Ah, the kitchen. One of the most cringe-worthy parts of this house, originally. There were the super-shallow, avocado green wood cabinets. The beautiful but hard-to-access corner sink. The weird layout. The almost-nonexistent counter space. This is the room that took the largest part of our budget and time.

We completely rewired and replumbed the space. Ripped up the green tiles and refinished the hardwoods underneath. Installed new drywall. And then we installed the cabinets, counters, backsplash, and fixtures ourselves. Would we do that again? Maybe, maybe not. But we are very proud of the transformation and grateful to the family members who helped us make it happen.

DSC_0935_thumbDSC_0936_thumbDSC_1177_thumbDSC_1293_thumbKitchen 2

Griffin Before & After: The Exterior

Front 2

The day we’ve been impatiently waiting for is finally here: Listing Day!

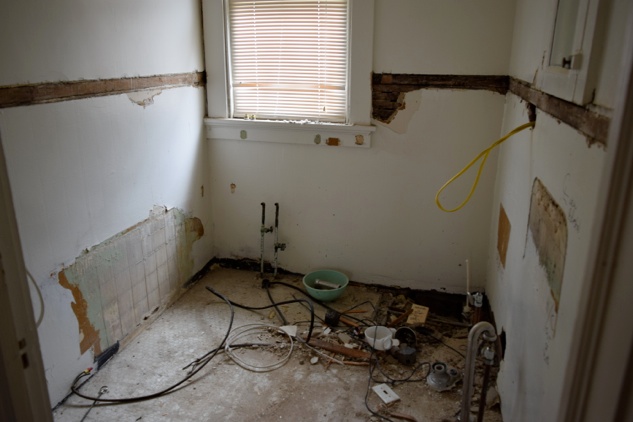
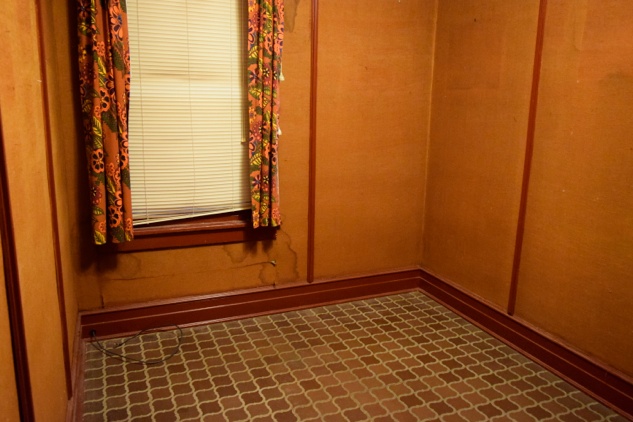
It’s been a long, long time since we started this journey on a frigid December day. We had more than a few people act like we were crazy for taking on a major renovation project, but we saw the potential in this house from Day 1 and we couldn’t wait to bring it back to life. We had some surprises along the way, and it took much (much) longer than expected, but we learned a lot and we’re excited to do it again.

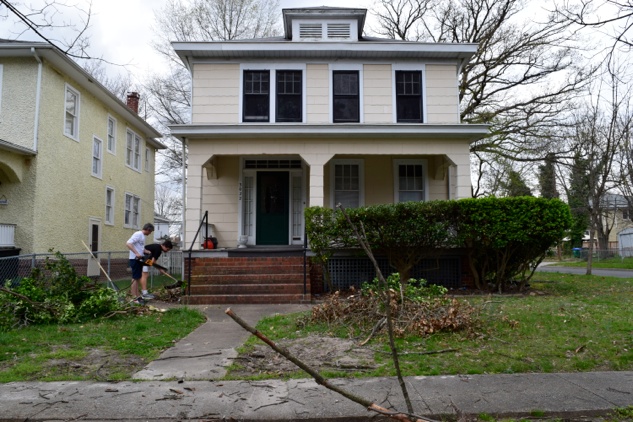
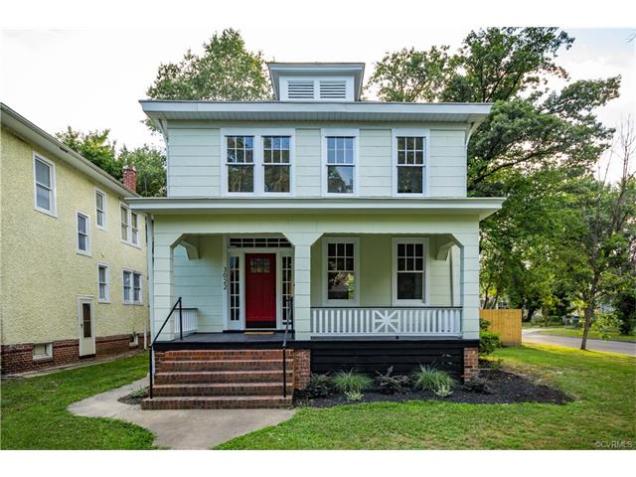
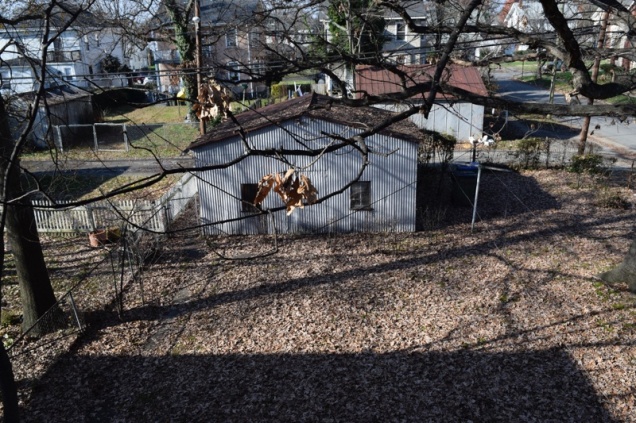
When we bought it, the Griffin House was hiding behind a cluster of prickly, deep-rooted bushes. Todd worked hard to remove them with the help of a few friends, and we replaced them with sculptural grasses, purple-hued bushes, and rosebushes. The exterior got some new shingles, a new door, and a fresh coat of paint with a subtle green tint. The backyard got some love too with a lot of cleanup (so many leaves!), a privacy fence, tree-trimming, and repairs to the shed.

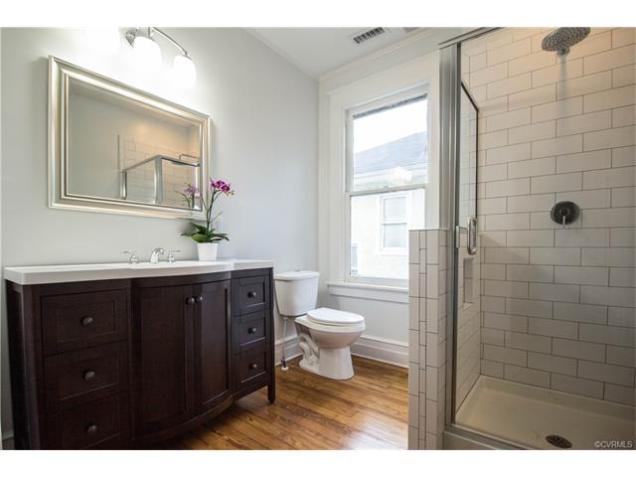
She looks a little different, wouldn’t you say?

DSC_0910_thumb

DSC_1193_thumb

DSC_1288-2_thumb

Front

DSC_0964_thumb.jpgBack 2_thumb.jpg